Monday, 26 October 2020

A creative Halloween


I haven't really experimented with Halloween related crafting in the past but, a few weeks ago my niece asked for some advise on Halloween decorations for a co-working area she rents out. She was considering ordering some pretty pricey floral displays so I tried to talk her into creating a display herself. I think she's now in the process of negotiating something in between. This conversation got me thinking about a craft project and this post is the culmination of my efforts.  

Those who read my posts know that I love nothing more than creating lovely stuff using only recycled materials or everyday objects you find about the house. And I'm very happy to report that for the first of the two pieces I've made, you only need a box of tissues, felt pens and a bit of ribbon or string. You don't even need glue!!! The second piece is made from something you might already have rotting away nicely in your  garden. 

This first piece using tissues couldn't be easier...

Isn't he great? I know the idea of a ghost hanging from a gibbet is pretty pointless as to be a ghost, it would already be dead! But, once I'd made the ghost, and then spied a length of black ribbon [cut from the hanger loops from a recently bought sweat shirt - I ALWAYS save these as they have so many uses], it was like some dark and malevolent force was guiding my hand and before I knew it, this little Casper was a' hanging [cue echoing maniacal laughter]! He was so easy to make. Screw one tissue into a ball [for the head] and then take another tissue and place the ball in the centre and then pull the tissue down around the "neck" and secure with string or ribbon. Then use felt pens to add eyes and maybe a bit of blood.

On the subject of blood, you'll see below that I got nicely carried away! This is the same piece, just photographed from different angles and look at the difference a bit more blood makes. I think the image on the right is the best as it looks most like there might be an actual body under that bloody sheet! 


With these photographs, I ramped up the contrast and used the vignette function to create the dark edges. Then, I went a bit further by adding some creepy text. I use both Picassa and GIMP for doing this; Picassa is easier to navigate but GIMP has more functions.


My second Halloween craft item is something you might already have in your garden if, during the summer, you grew that gorgeous show-off flower, the Antirrhinum. Lovely as these majestic beauties are, it's what happens to then after they've died off  that makes them useful to us. 

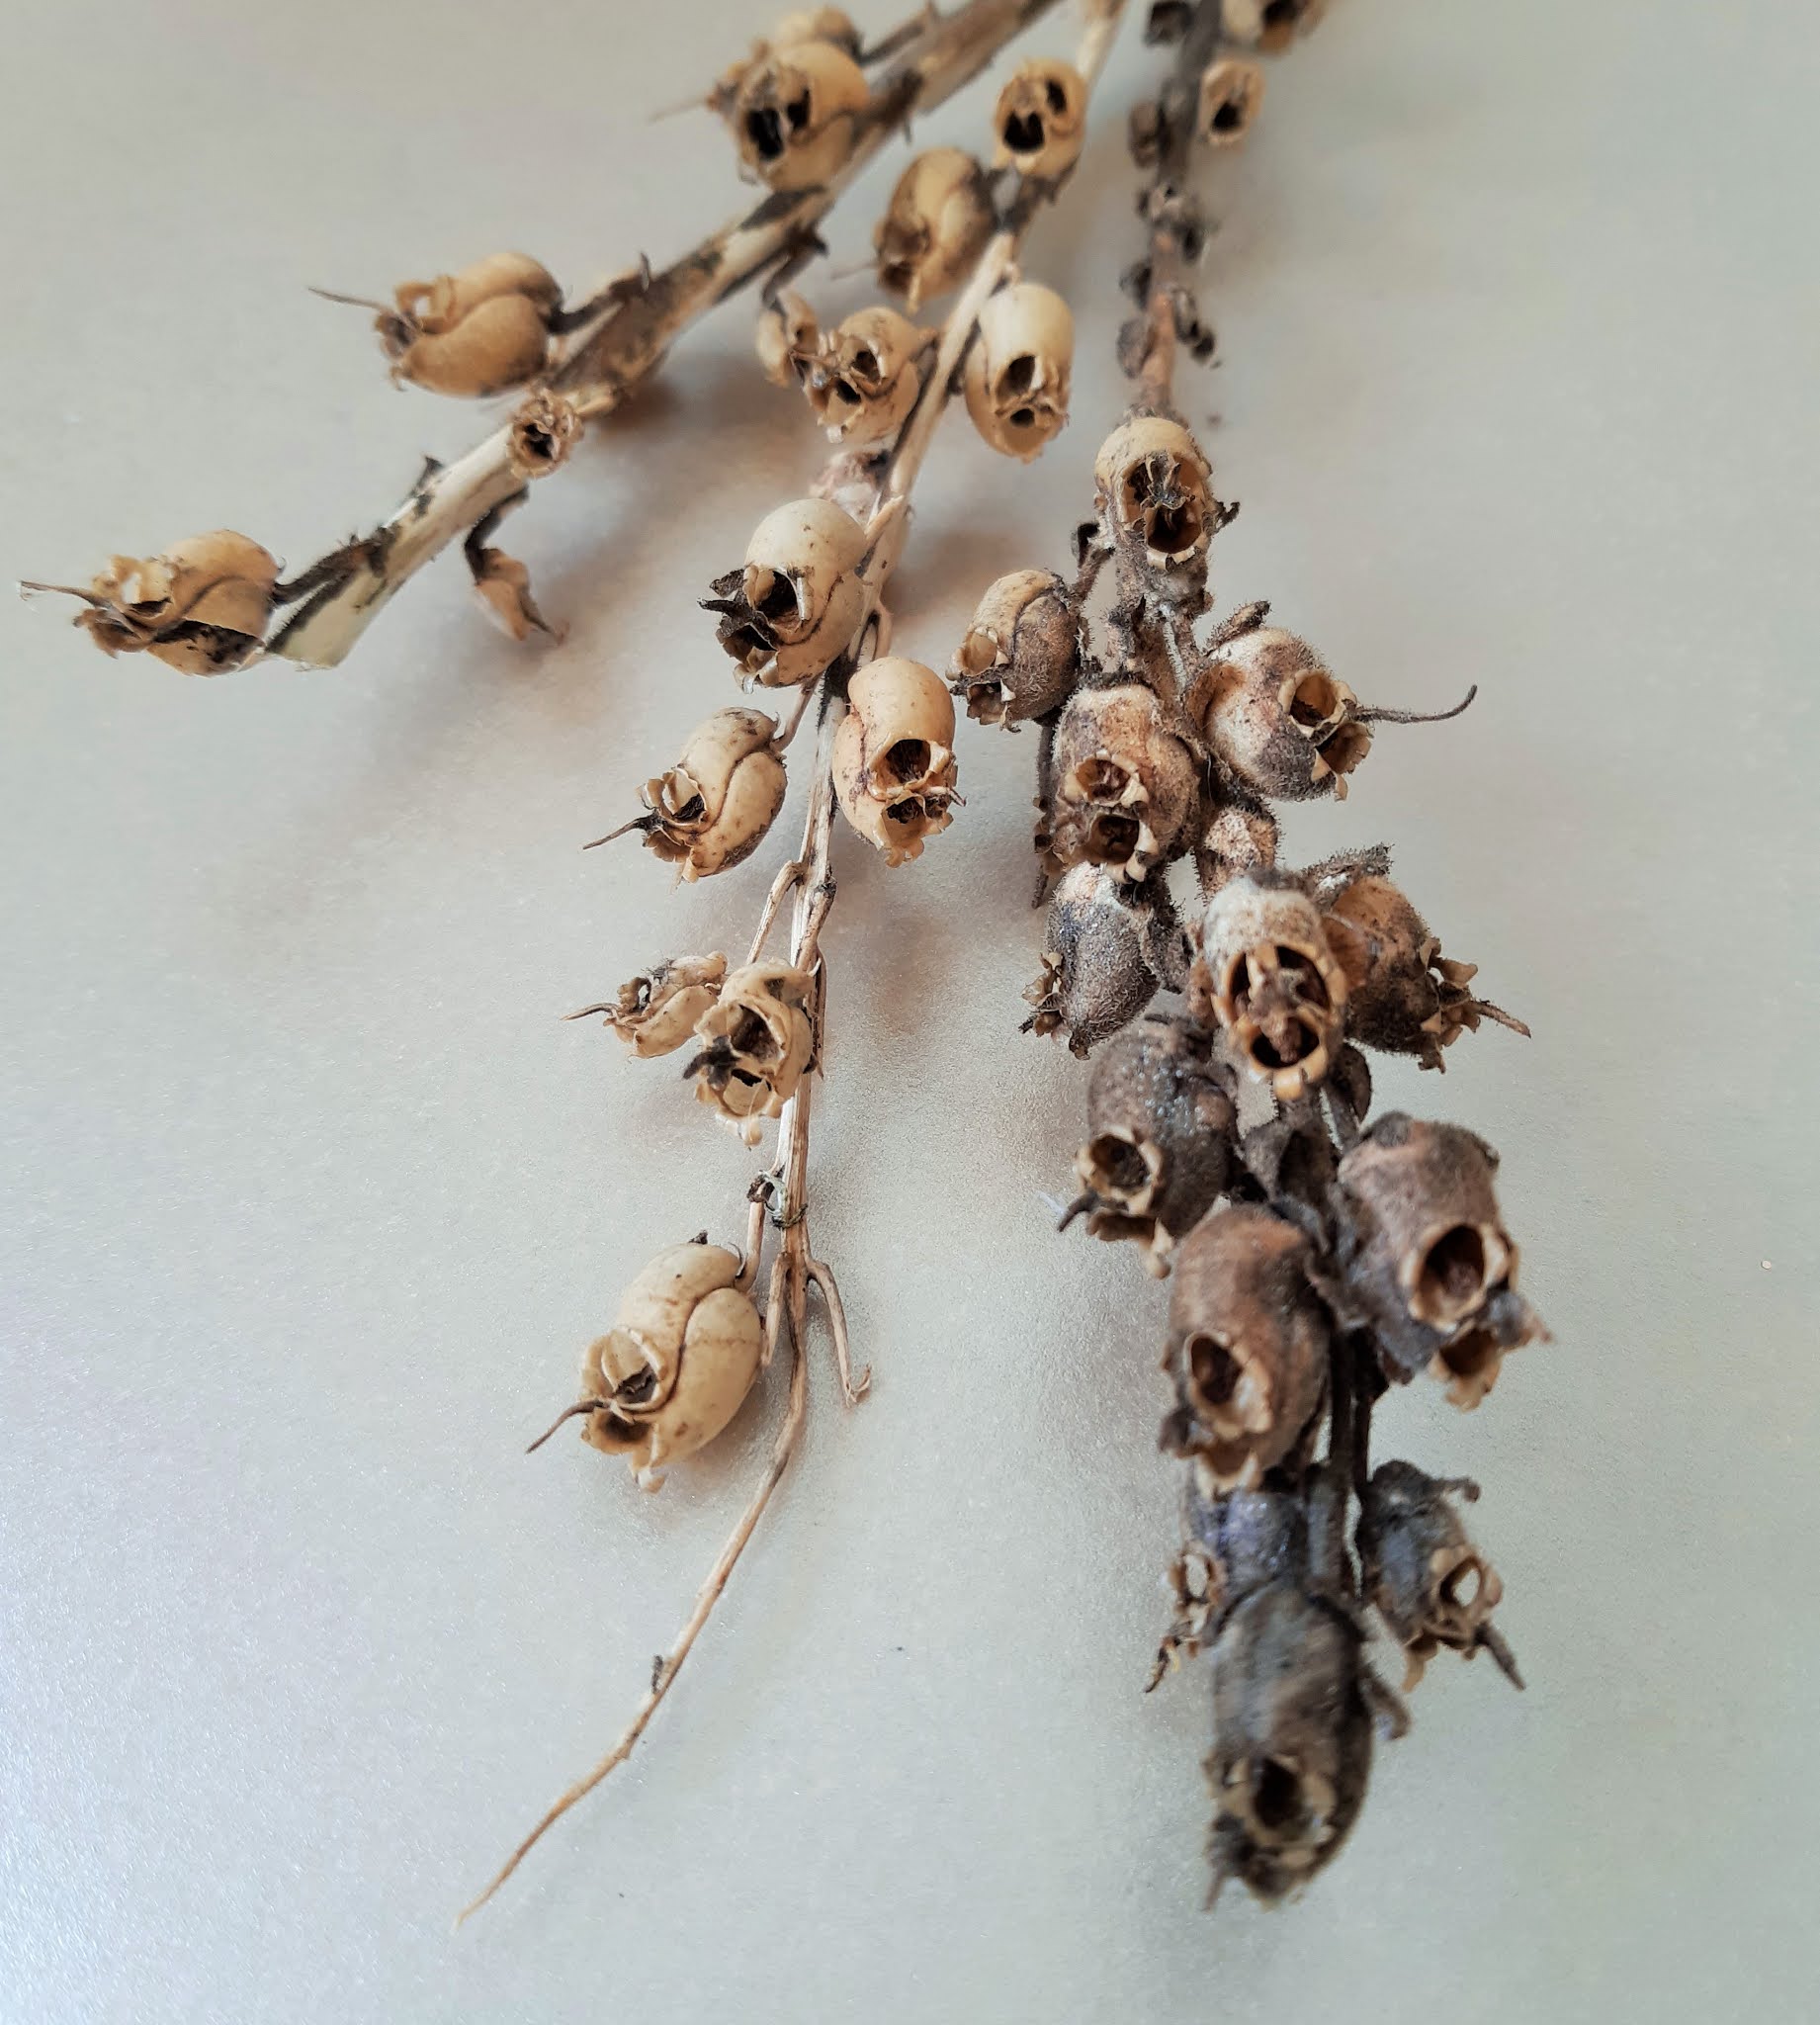
Just look at these Antirrhinum seedpods and have a think what they remind you of... 


Well? Sculls of course! 
Be them fairy or alien, they most definitely look like sculls. 
Isn't nature amazing? 

The first thing I did was detach the pods from the stems and lay them out like an ancient burial find.


Then I added a strip of gothic related text that I had lying around [as you do!]


Then I added text properly using Picassa 


Then I experimented by threading them onto a length of scarlet cotton and was thrilled with the results!


By the way, the black specs everywhere are the seeds - they come tumbling out when you shake the pods.


Do they now look more like a necklace of human teeth?!? Does it matter? I think not. 
This is HALLOWEEN after all and surely the more macabre the better.

I do hope you've enjoyed this post, this one really has been about making some very cool Halloween items out of practically nothing at all.

Only one thing left to say...

HAPPY HALLOWEEN!


Wednesday, 21 October 2020

Adventures in Graphic Design: The Handmaid's Tale

Is anyone else currently watching [or has watched] The Handmaid's Tale? I started watching a year or so ago but didn't make it to the end of the first episode. Way too grim for me. I'm fine with ghosts, vampires and monsters [because they don't exist]. But anything to do with potential real life horror, I can't take. I know it can and does happen but I don't want to watch it on screen. This story might be fiction but it covers the consequences of catastrophic human error in judgement leading to the establishment of a society built on violence, terror and the perversion of religion in the worst way. This hasn't happened but the potential is there.

However, a few weeks ago my niece began telling me how amazing it was, she admitted it was horrific but, so well written and acted that it made for compelling viewing. So partly out of curiosity and partly because I love having something in common to chat about with my niece, I started watching it again... and it really is quite astounding. At the time of publishing this post, I'm about half way through season three. 

Here's a brief synopsis of the basic premise.

The Handmaid's Tale is the story of life in the dystopia of Gilead, a totalitarian society in what was the United States. Gilead is ruled by a fundamentalist regime that treats women as property of the state, and is faced with environmental disasters and a plummeting birth rate. In a desperate attempt to repopulate a devastated world, the few remaining fertile women are forced into sexual servitude. One of these women, Offred, is determined to survive the terrifying world she lives in, and find the daughter that was taken from her. [IMBD]

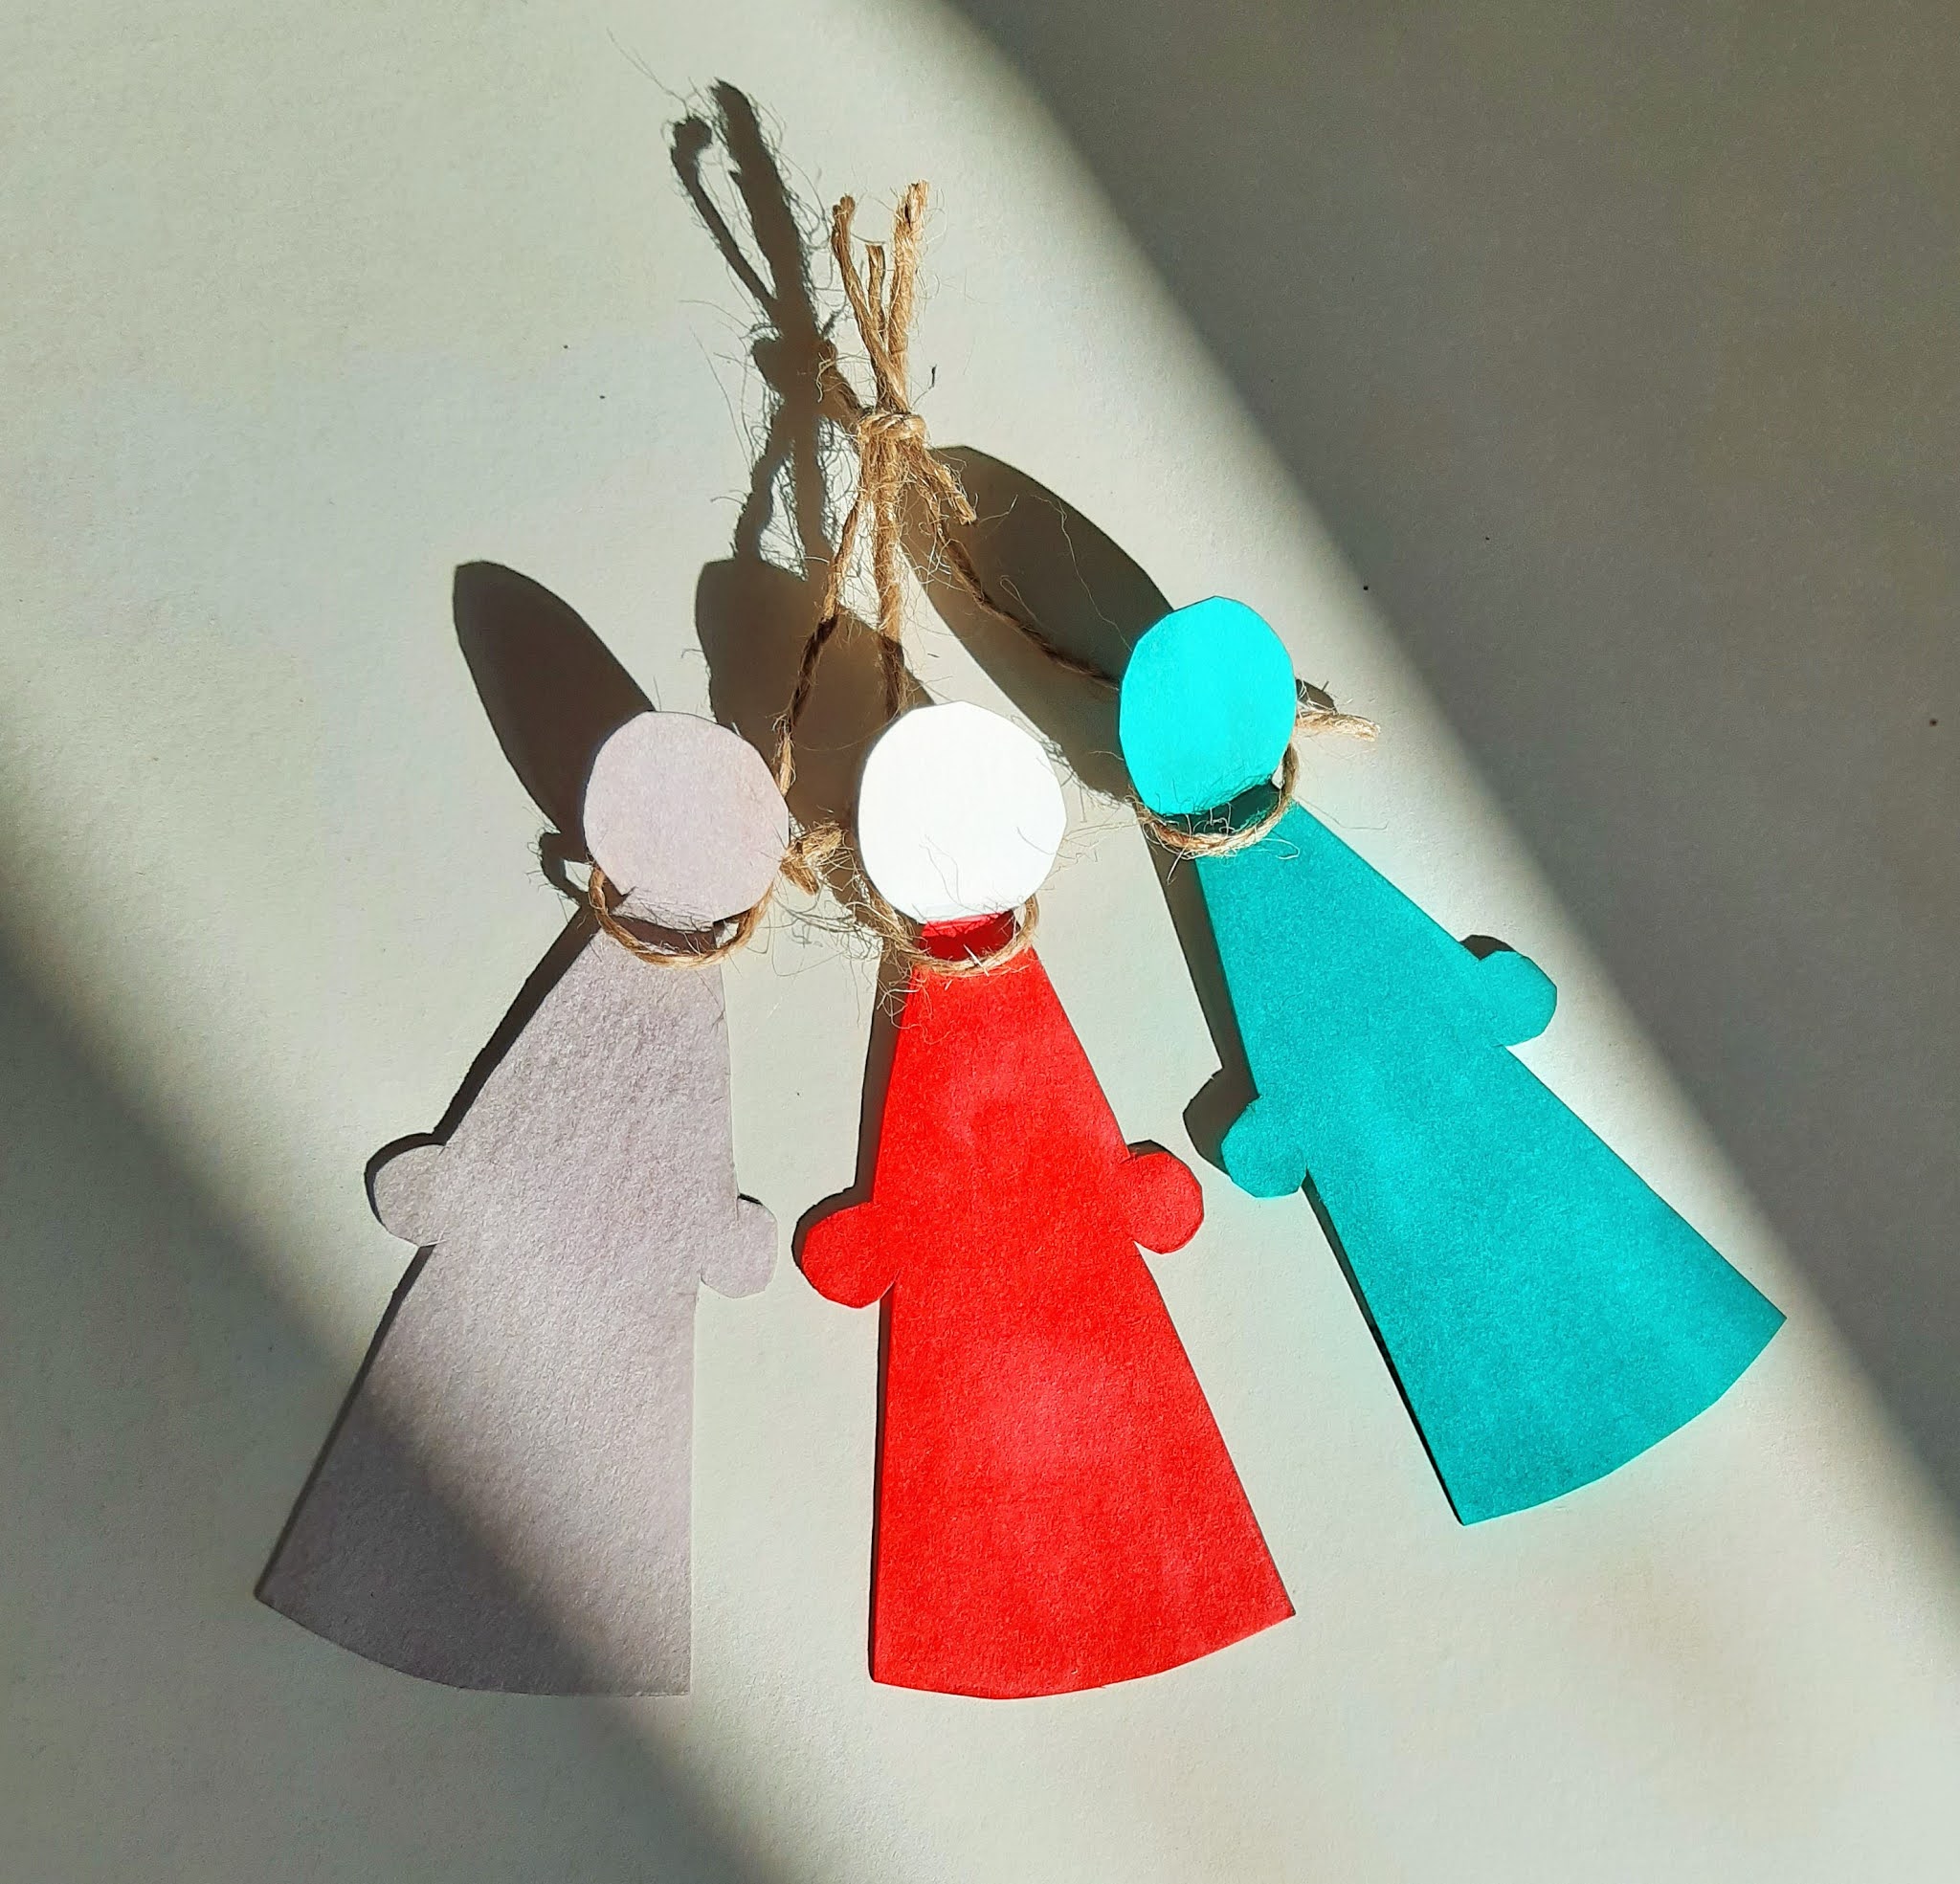
One aspect of the story that fascinates me is the colour symbolism of the "uniforms" the Gilead women are forced to wear. The Handmaids [remaining fertile women] wear long red dresses - symbolising menstrual blood and the womb and fire and lust. The Wives wear a teal blue -  associated with the Madonna, and symbolising their ultimate role as mothers, pure mothers, those who have not conceived themselves but rear the children anyway. Marthas are female servants who wear a drab brown uniform symbolising earth and the homestead. 

For further information on colour symbolism in The Handmaid's Tale read this article by Charlotte Unsworth.

My designs are based around this colour representation and I began with basic shapes.


Would you believe I've never made a paper chain before! 

I used this blog post to get me started: Ehow make paper people cut outs

Then I and added text, imagining I was designing a book cover. 

I use both Picassa and GIMP for doing this; Picassa is easier to navigate but GIMP has more functions.


Gilead as a nightmarish place of fear definitely falls within the Halloween related category hence this late October posting. Even the smallest misdemeanor committed there can lead to the severest punishment which is being publically hung "on the wall". 

I played about with this macabre idea too.


Finally, I created a paper chain of Handmaids wearing their distinctive "wings" - a Jacobean styled white wimple. 


As already mentioned above, Gilead society is based on a perversion of the Christian religion.

Religion in the Handmaid's Tale Religion is the foundation of Gilead ’s formation. It is a republic based on religious dogma from the Old Testament skewed cover up the real wishes of the Gilead elite. Their use of Christianity is only a means to an end. There’s never any mention of people willingly praying, going to church, or even using the accepted greetings of their own accord. They do these things out of fear, fear that they will be thrown out of civilization or worse, tortured and killed.

Quote from Women's Literature Blog Religion in The Handmaid's Tale

Handmaid's greet each other by saying "Under His Eye

This link gives a brief explanation on these words:

What does Under His Eye mean in the The Handmaid's Tale

Well there you are, I've had a lot of fun playing around with these concepts and am pretty happy with the results. I'm going to experiment more with text as I love the changes it makes to the images. Off now to watch the remaining few episodes of season three... in the last episode I watched, things weren't looking very good for Offred... :-)


Publicity 


Book cover art


Thursday, 30 July 2020

Let's make... Decorated matchboxes!


It's been a shamefully long time since I published my last "Let's make..." post so here's a lovely one for you. This craft project can be made more challenging for adults and more simplified for children.  It utilizes something that most households should have tucked away in a drawer... it's the humble matchbox! They make the best decoration receptacals and if you are of a certain age, you will remember seeing them being used many times over for craft purposes on tv programs like Blue Peter [Sindy's bedroom chest of drawers?]  Yes, today we look at decorated matchboxes and to get us started, here are some I've produced over the years.

I decorated these tiny matchboxes with the patterned side of some office envelopes [see further down for more information] and pages of text from an old, damaged book - they were then filled with sweets and given as gifts.

This larger box was decorated and then filled with wild flowers - a few of them were used to decorated a birthday tea table - they looked SO pretty! 


You can buy newly made blank boxes in most craft shops but ideally, try to use old boxes. 
Remember, whenever you can, always try to use recycled materials. 

You can of course buy old boxes for pennies in flea markets and boot sales. Although, try not to make my mistake of purchasing these lovely vintage boxes and then not having the heart to cover them! They have been sitting on a shelf in my craft room gathering dust for a number of years!


The shape is pretty straightforward to cover with paper but for young children I would recommend only covering the outer sliding box as the drawer section can be tricky.

I thought this might be an opportunity to show you how I create pretty vintage looking backgrounds and old telegram-like text for my designs, like this one...


Firstly, would you believe that this beautiful green leaf pattern was found on the inside of a basic office envelope I received through the post? I could not believe how pretty it was and if you keep an eye out when opening your bills and correspondence, you will find lovely examples like these...


For the text, I type out the words and then cut the sentences out as strips. Then I douse them in black coffee for a few seconds only and then let them dry. You can use back tea but I find using granulated coffee, you can better control the strength of the color stain.


As stated previously, I'm passionate about using recycled materials and particularly love finding them in unusual ways. Look at these beautiful sheets of shimmering silver paper and before reading further, take a minute to try and work out where I found these... 


Did you guess correctly? 
These sheets are wrappers from the little square stock cubes sold in supermarkets! 


I've only just started using this silver paper and already have some great ideas where it can be used in Christmas crafts. In the meantime, here it is wrapped around a matchbox with a scull motif added. Wouldn't this be perfect filled with sweets as a Halloween treat box? 


So there you are, a delightful little craft project for old and young to enjoy.
They are so useful as gift boxes and lovely as pretty objects to brighten up a desk in work [for holding tiny stationary supplies]. 

Specifically for children, take a look at this great blog post:

However, matchboxes are also used to make seriously beautiful art objects, take a look at these two very talented artists: 

To finish up and leave you with a few more ideas, here are more boxes I've covered, happy crafting!


All photographs taken by the author / poetry written by the author